

I started building the sailboat before I started writing the blog about building the sailboat, so my first sailboat post was a couple of weeks into construction. Here's a brief rundown of some stuff that happened before post number 1.
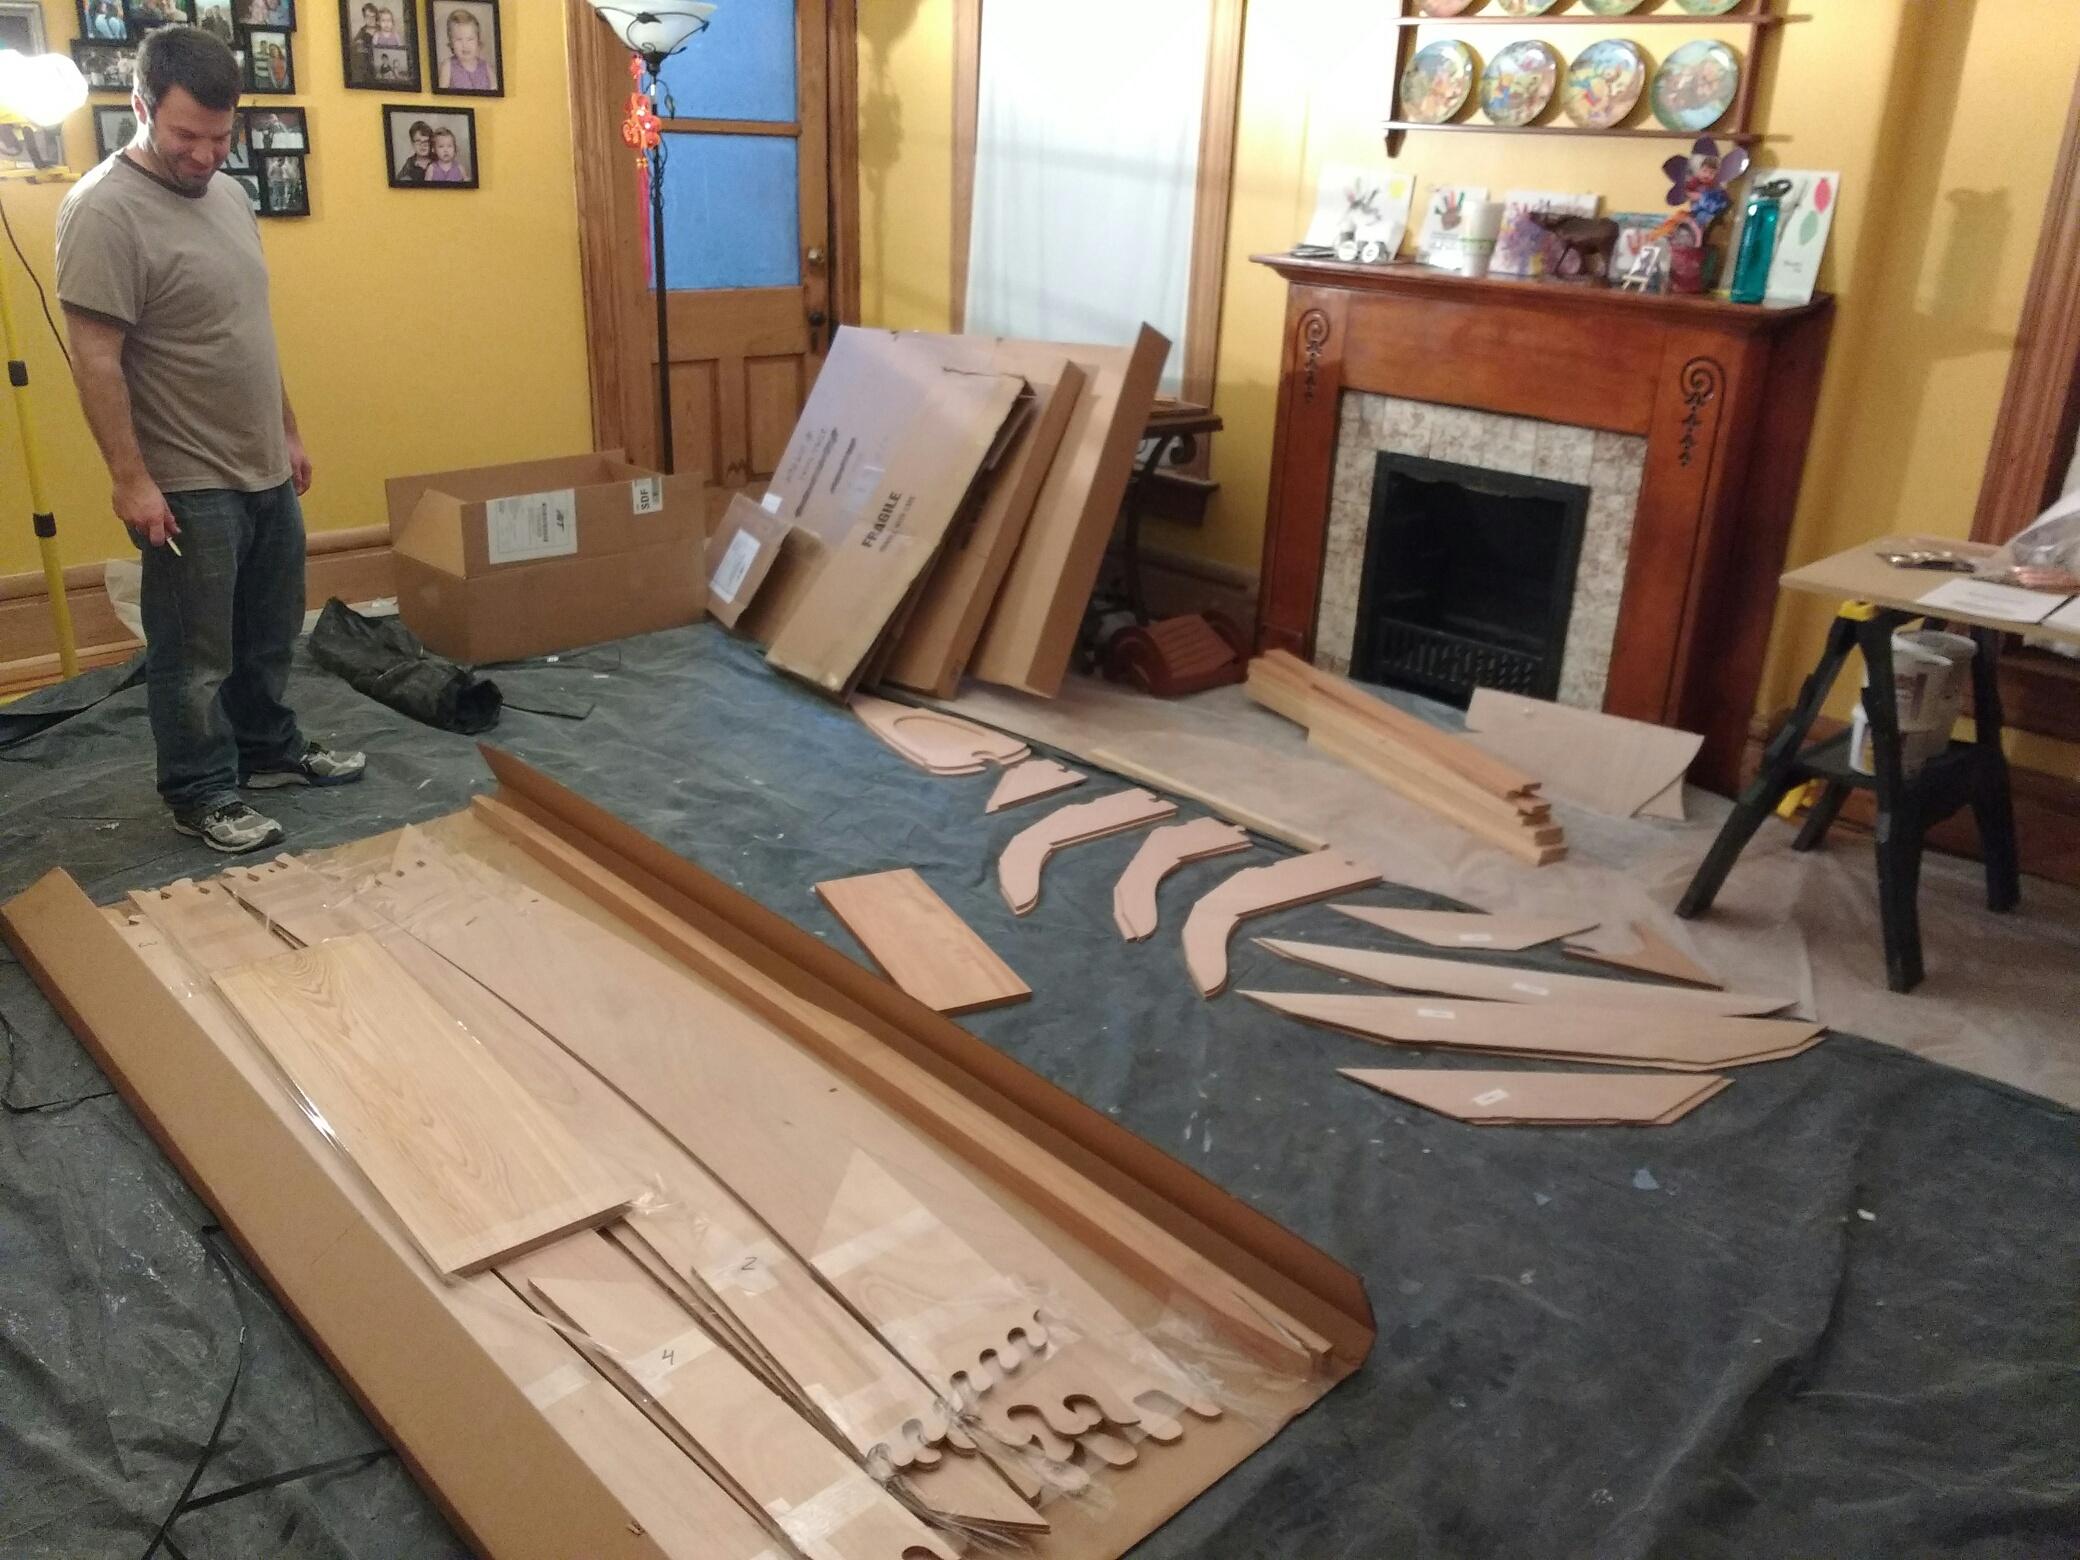
I bought the sailboat as a kit because I have two small children and wanted to be able to finish it someday. So when I opened the boxes it looked something like this:
No problem, right?
House trivia: the door in the picture leads into the back yard, but drops off about three feet (watch your step). Presumably when they added on to the house, they removed a porch or stair that lead down to the ground. The good news is that I can get the boat out of the house through that door.
Still in the box are most of the hull panels and the gunnels (rails that run along the outside). On the floor to the right are the pieces that will be the bulkheads. Just out of the frame is the box containing the sailing kit. After much unpacking and sorting and the first round of gluing, we have some assembled parts!
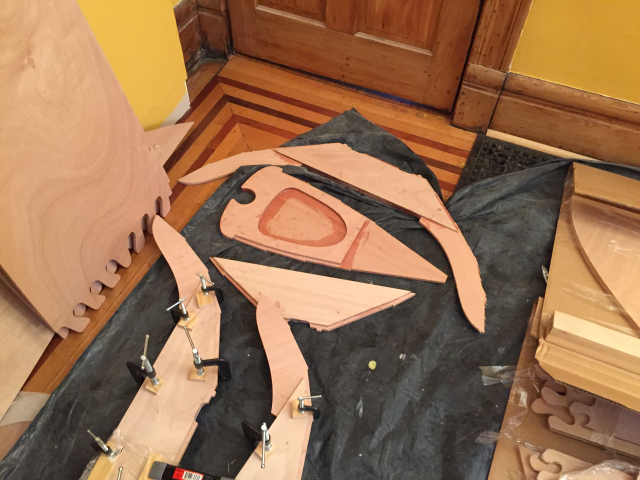
Here you can see the four bulkheads and the transom. The transom is the kite shaped piece that will form the very back of the boat. The bulkheads separate the sections of the boat and will have thwarts (seats) on top. On two of the bulkheads and the transom the epoxy has cured and the clamps have been removed, the other two are still clamped. The skeg (a little fin that goes on the bottom of the boat to help it track straight) is glued but not shown.
Everything about this process is new to me. Epoxy was especially intimidating until I'd done it once. I haven't glued my hands to my face yet and having mixed and applied it several times I have picked up (a little) confidence.
(Sadly unpaid plug) Fortunately, Chesapeake Light Craft provides an amazingly detailed manual and has a ton of resources online including a youtube channel (warning, video may autoplay at link) with lots of video.